Building Your First Robot: A Step-by-Step Guide for Beginners
AI generated content
This content is generated by an AI and does not reflect the opinions or views of individuals, either living or deceased.
| Text generated by | ChatGPT (GPT-4) |
| Text prompt | Write a technical blogpost about how to build a simple robot at home |
| Image generated by | Midjourney |
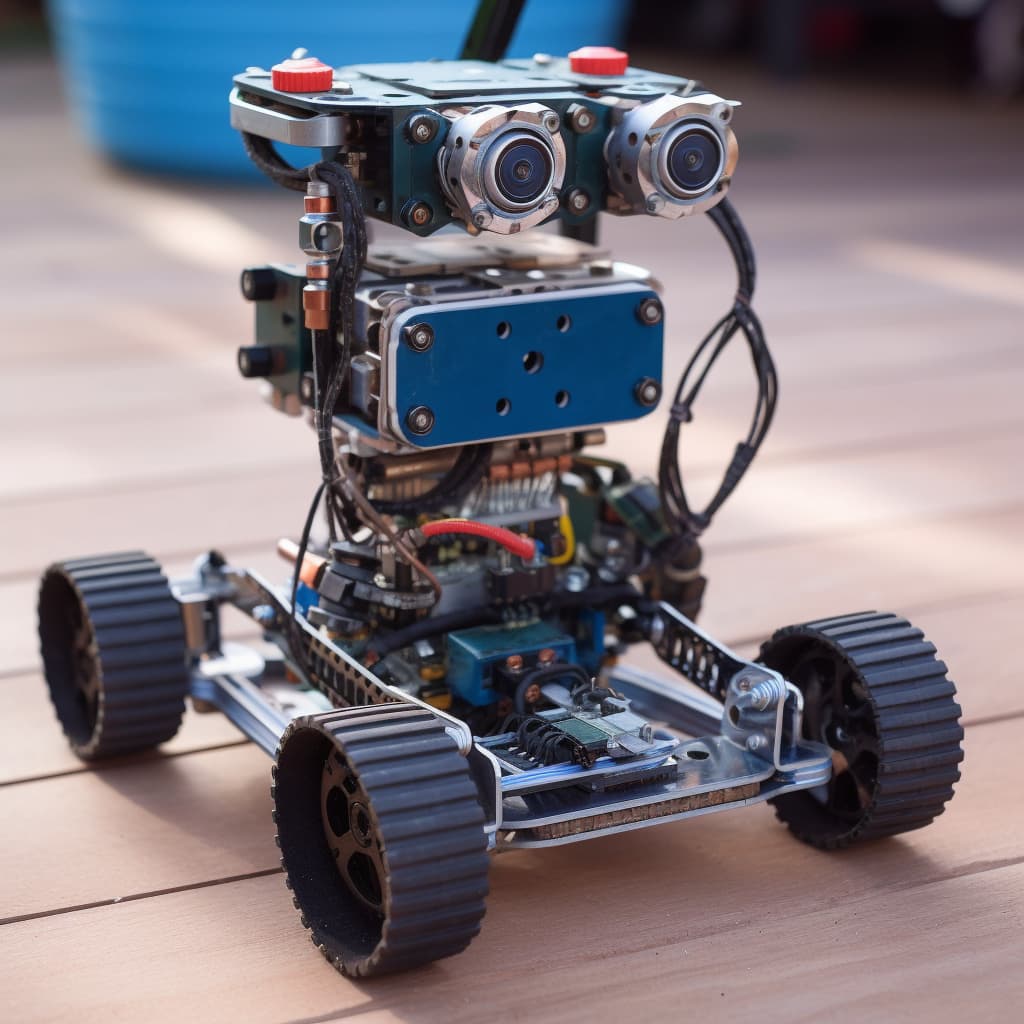
| Image prompt | Building Your First Robot: A Step-by-Step Guide for Beginners |
Robots are no longer confined to sci-fi movies or high-tech laboratories. Today, with the right tools and a little bit of knowledge, anyone can create a simple robot at home. In this blog post, we will guide you through the process of building a basic line-following robot. This is a popular beginner project in the world of DIY robotics, where the robot is designed to follow a specified path, typically a black line on a white surface.
Before we start, keep in mind that safety is paramount when working with electronics. Always make sure to use the correct tools and follow safety precautions.
Materials Needed:
- Chassis: A basic frame or body for the robot. You can either purchase a readymade one or create your own using materials like acrylic, wood, or metal.
- Two DC Motors: These will drive the robot’s wheels.
- Wheels and Castor Wheel: Two wheels to attach to the motors and one castor wheel (freely moving) for balance.
- Motor Driver (H-bridge): A device that allows you to control the direction and speed of the motors.
- Arduino Board: A microcontroller board that will serve as the robot's brain.
- Line Follower Sensor or IR Sensor: These sensors detect the line for the robot to follow.
- Jumper Wires: Wires that are used to connect the components.
- Battery or Power Supply: To power the robot.
- Double-sided tape, cable ties, or glue: To secure the components to the chassis.
Building the Robot
Step 1: Assembling the Chassis
Attach the DC motors to the chassis, ensuring they are securely fixed. Fasten the wheels to the motors and attach the castor wheel at a position that balances the chassis.
Step 2: Wiring the Motor Driver
The motor driver takes signals from the Arduino and drives the motors accordingly. Connect the output pins of the motor driver to the DC motors. Remember, each motor should have two connections with the driver: one for forward movement and the other for backward.
Step 3: Setting Up the Arduino
Attach the Arduino board to the chassis using double-sided tape or cable ties. Make sure the USB port is accessible for programming. Connect the input pins of the motor driver to the appropriate digital pins of the Arduino (refer to the motor driver documentation for correct pin connections).
Step 4: Connecting the Sensor
Mount the line follower or IR sensor on the front side of the robot, facing downward, so it can read the line. Connect the sensor output pin to the appropriate digital or analog input pin on the Arduino board (again, refer to sensor's documentation for correct pin connections).
Step 5: Powering Up
Connect your power supply or batteries to the power input of the motor driver and the Arduino board. Make sure to connect the power supply according to the voltage requirements of your components.
Step 6: Programming the Arduino
The final step is programming the Arduino to drive the motors based on input from the line follower sensor. This code will vary depending on your specific sensor and motor driver, but generally, it will involve reading input from the sensor and using this to control the direction and speed of the motors.
There are many online resources and community forums available if you need help with your code. The Arduino website is a great starting point.
Once your code is uploaded to the Arduino, your robot is ready! Place it on a path with a line, and watch as it begins to follow it.
Building your own robot can be a fun and educational experience. This simple project introduces the basics of robotics and programming.